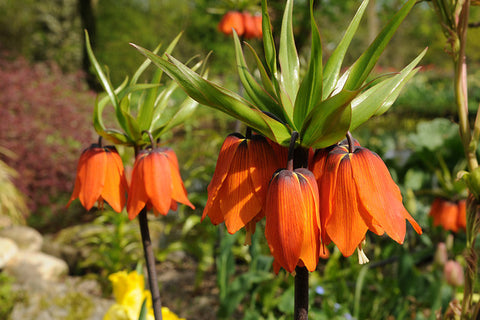
Growing Guides: How to Grow Fritillaria Bulbs

Fritillaria have leafy stems carrying one to many alternate, opposite or whorled leaves, and one to several more or less pendent, bell-shaped flowers in a wide range of colors. Most varieties are in plain, checkered or striped shades of green and purple brown but there are species with yellow, white, pink, red and orange flowers. Bulbs should be planted in early fall and require sunny locations or dappled shade.
Planting fritillaria bulbs:
- In the Fall, choose a spot that gets quite a lot of light and has good soil drainage.
- Planting fritillaria bulbs is fairly simple. You'll notice when you receive your bulbs that they will be rounded, perhaps with some roots on the bottom and a spike or indentation on the top. Some varieties will have a hole in the top instead of a spike. This is where last year's stem grew and is perfectly normal, even though it looks unusual. Fritillaria bulbs should be planted with the spike, indentation or hole pointing upwards and the roots down.
- Usually the rule of thumb when planting bulbs is that bulbs need at least 2 times their height of soil above them. Dig a 2 to 3 inch deep hole, drop the bulb into it (remember, spike points up!) and cover with soil.
- Regarding spacing between bulbs, if planting in beds, leave approx 4 inches between each bulb. If you are planting in containers, you can cluster them a little closer together.
- After planting, water well so that the soil above the bulbs settles.
- Fritillaria bulbs will flower in the Spring. After the flowers die down, the plant can enjoy a warm rest period. You don't have to water too much during this rest period. Leaves will also die back and start to yellow. At this point, you can choose to tidy up the plant and remove the old leaves.