Bare Root Perennials Planting Guide
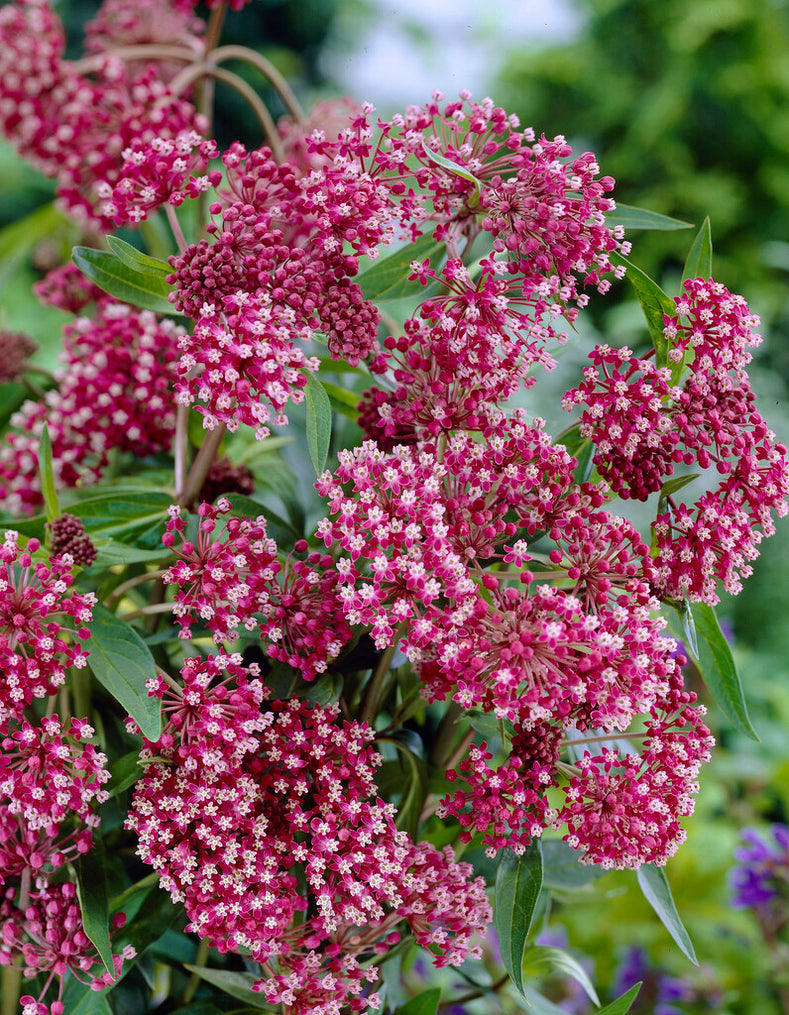
Hardy perennials come in all shapes, sizes and colors. Choose the right spot for your perennials and they will return bigger and stronger each year! Hardy perennials are easy to grow. Overall, the ideal planting position is in full sun or partial sun with free-draining soil.
How to Plant:
Planting bare root perennials is a cost-effective and rewarding way to establish a garden. Here's a guide to help you get started:
1. Timing: Plant bare root perennials in early spring as soon as the soil can be worked, but while the plants are still dormant. This gives them time to establish roots before the heat of summer.
2. Preparing the Plants: Upon receiving your bare root perennials, unpack them immediately. If the roots are dry, soak them in water for a few hours before planting. Trim any damaged or excessively long roots.
3. Soil Preparation: Choose a planting site with the right light conditions for your specific perennials. Prepare the soil by loosening it to a depth of 12-15 inches and mixing in compost or well-rotted manure to improve fertility and drainage. If your soil is heavy clay or very sandy, amend it appropriately.
4. Planting: Dig a hole wide and deep enough to accommodate the roots without bending or crowding them. Position the plant so that the crown (where the roots meet the stem) is level with the soil surface. Spread the roots out in the hole and backfill with soil, gently firming it around the roots. Water thoroughly after planting.
5. Spacing: Follow the specific spacing recommendations for each type of perennial, as overcrowding can lead to poor air circulation and increased disease susceptibility.
6. Watering: Keep the soil evenly moist (but not waterlogged) throughout the first growing season. Once established, most perennials are relatively drought-tolerant, but check the specific needs of each variety.
7. Mulching: Apply a layer of organic mulch around the plants to conserve moisture, regulate soil temperature, and reduce weed competition. Avoid piling mulch directly against the plant stems to prevent rot.
8. Fertilizing: In general, perennials benefit from an application of balanced, slow-release fertilizer in the spring. Avoid over-fertilizing, which can promote weak, floppy growth.
9. Aftercare: Remove spent flowers to encourage more blooms or to prevent self-seeding, depending on the plant. Cut back dead foliage in late fall or early spring, depending on the plant and your local climate.
10. Winter Care: In colder climates, some perennials might need extra protection, like a thicker layer of mulch, during the winter.
By following these steps, you can successfully establish and enjoy a vibrant perennial garden. Remember that different perennials have different specific needs, so always check the requirements for each variety you plant.

How to Care:
- Water in the evenings during the hot, summer months.
- Deadhead when necessary.
- Tall perennials can benefit from staking, especially in an exposed location.
- Cut the stems right down in the fall for new stems the following spring!

