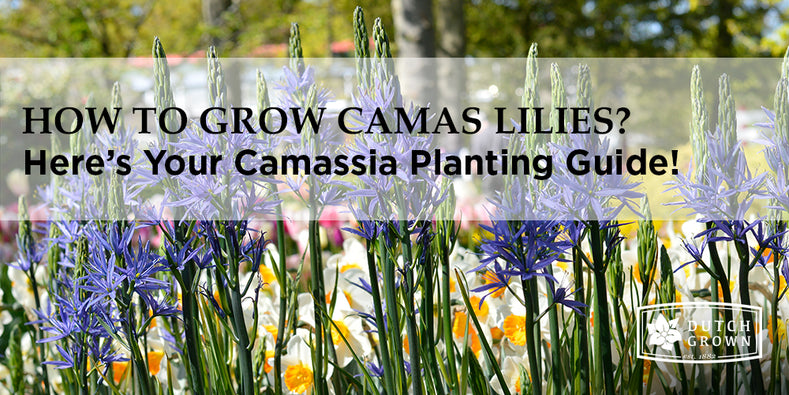
How to Grow Camassia?
CAMASSIA PLANTING GUIDE
Once a staple of Native Americans’ diet, these violet spikes bring an enthusiastic energy to any bed or border. If you’ve ever seen large swathes of them growing in Oregon or Washington, you know the breathtaking effect they’ll have in your garden. Best of all, they love gentle neglect and will come back year after year without any effort on your end.
QUICK GUIDE
- WHEN
Plant in fall
Bloom in spring
- WHERE
Hardiness zone 4-9
Full sun or partial shade
Well-draining soil
- WATER
Once after planting
Moderately in spring
- WIDTH & DEPTH
3-4” apart
3-4” deep

Arrival
When your DutchGrown Camassia arrive and you can’t plant them immediately, it’s important to store them correctly: unpack them right away and put them in a dry place with plenty of air circulation, where the temperature is between 40 and 70 degrees Fahrenheit.
Planting
Like all flower bulbs, Camassia also known as Camas Lily, need a cold period to develop their roots and get ready for spring. So once you feel fall’s first chill in the air, it’s time to get planting. If you live in hardiness zone 9 or higher, the soil won’t get cold enough for the root-developing process to happen, but you might consider forcing
Flower bulbs are tough cookies that are easy to grow, but one thing they hate is getting their feet wet: a bulb that is ‘bathing’ in water will rot in no time. So avoid soggy soil at all cost – this means places where you can still see puddles 5-6 hours after a rainstorm. Another thing you can do is to upgrade potentially soggy soil by adding organic material such as peat, bark or manure.
Camassia need the sun to grow, but though they adore basking in its glory all day, they can also do very well in places with dappled shade or scattered sunlight.
Camassia will need to be planted deep enough that they won’t be affected by temperature variations above ground, either too warm or too cold.
The standard method for calculating the ideal depth is to dig a hole three times as deep as the bulb is high, and place the bulb at the bottom with its pointy end up. Since Camassia grow less well when they have to fight for nutrients with their fellow bulbs, it’s best to plant them 6-8” apart.
To help the bulbs settle and grow roots quickly, it’s important to water them well after planting, but after that you won’t have to water them again. Now all you have to do is wait patiently for winter to do its magic underground, and spring to surprise you with the rewards of your work.
During blooming season, you generally don’t have to water your Camassia, but you can water them when there hasn’t been any rain for 3-5 days.
After Camassia have finished blooming, don’t cut the foliage straight away: through photosynthesis the leaves will create nutrients that the bulb will be needing for its next growing season. After a few weeks the foliage will automatically yellow and die back, and then you can remove it. Now the bulb will be going dormant, and won’t need any watering until next spring.
How to plant Camassia in your garden:
- Wait until the soil is 60 degrees Fahrenheit or colder. In the North this will be in September or October, in the South in October or November.
- Pick a spot in your garden that has well-draining soil and gets full sun or partial shade.
- Plant the Camassia bulbs about 3-4” deep and 6-8” apart, placing them in the ground with their pointy ends up.
- Water well once and wait for spring
- After the Camassia have bloomed don’t cut off the foliage. Leave it until it’s completely withered and yellow, then remove.
Not suitable for containers:
Camassia need to remain as undisturbed as possible when growing, so they’re not suitable for planting in containers.


